Stripping out an old kitchen can be surprisingly satisfying—but only if it’s done safely and properly. This guide will walk you through the key steps of removing kitchen cabinets and wall tiles without damaging your home—or yourself.
Before You Begin: Plan, Prepare, Protect
A successful DIY demolition starts with preparation. This isn’t a job to rush into—heavy materials, sharp tools, and hidden utilities can all pose risks. Here’s what you need to consider:
1. Personal Safety Comes First
Wear the correct Personal Protective Equipment (PPE): gloves, safety goggles, sturdy boots, and a dust mask are essential. If you’re unsure about any step—especially those involving gas, water, or electricity—bring in qualified professionals. Only licensed electricians and plumbers should disconnect appliances or remove power outlets and plumbing.
2. Turn Everything Off
- Electricity: Shut off power at the mains and tape the switchboard shut to prevent accidental reconnection. Use a voltage tester to double-check there’s no live current.
- Water: Turn off the main water supply to avoid leaks or flooding.
- Gas: If your appliances run on gas, shut off the supply at the valve behind the appliance or at the meter. Consult a licensed technician to safely disconnect anything gas-powered.
3. Protect Your Home
- Floors: Lay down hardboard sheets or thick drop cloths to protect against heavy or sharp debris.
- Furniture and Fixtures: Remove and safely store items like artwork, light fixtures, and handles. Label everything for easy reassembly later.
- Dust Control: Seal off the work area with plastic sheeting or temporary barriers to prevent dust from spreading throughout your home.
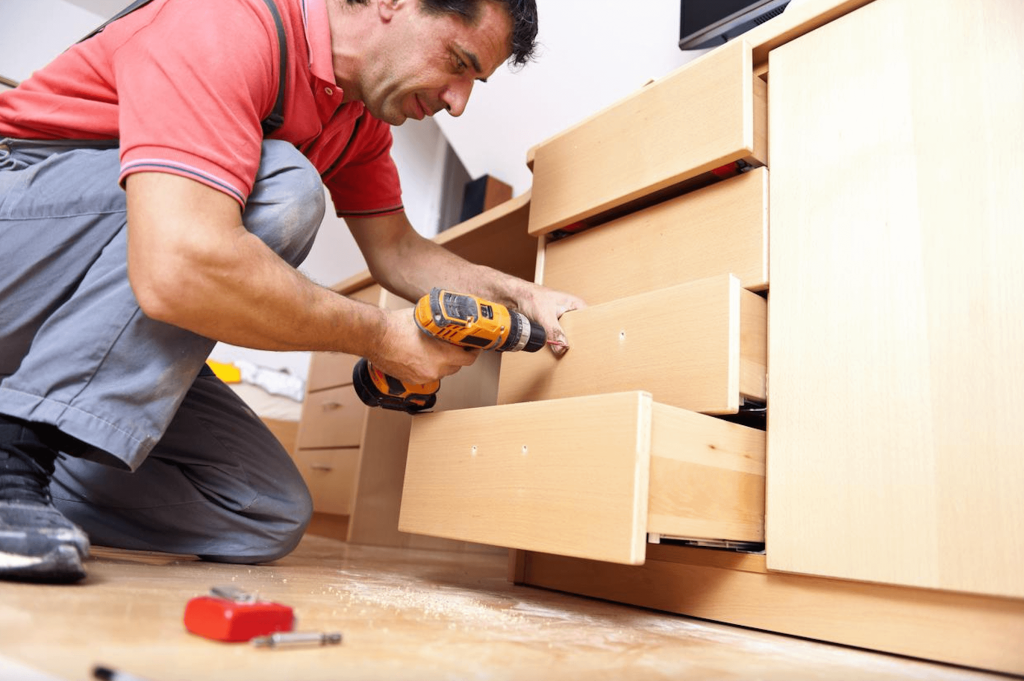
4. Get the Right Tools
Equip yourself with the essentials: drill, hammer, pry bar, scraper, Stanley knife, and possibly a circular saw. Using the proper tools will help you stay efficient and safe.
5. Arrange Waste Disposal
Before starting, hire a skip or waste removal service so you’re not left with piles of debris. Clearing as you go keeps the worksite safe and manageable.
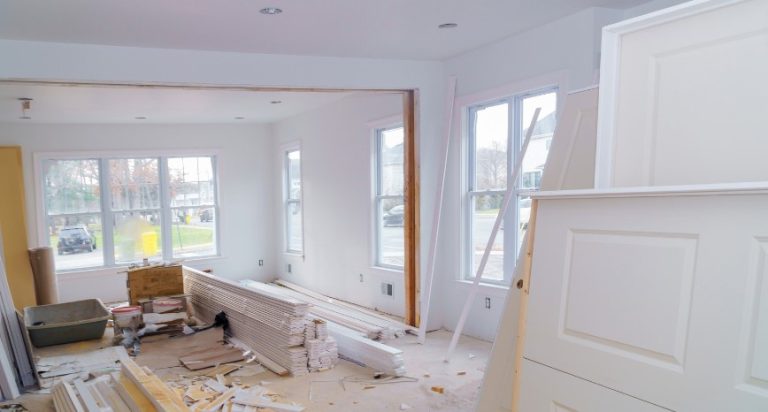
The Demolition Process
With prep work complete, you’re ready to start the physical part of the job.
Step 1: Remove the Sink
Cut the silicone seal around the edges with a sharp knife. Use a pry bar or wooden block to gently lift the sink. Be cautious—metal or ceramic sinks can be very heavy.
Step 2: Take Off the Benchtops and Splashbacks
Unscrew the benchtop from the base units. If it’s stuck or too large to handle, cut it into smaller sections. For splashbacks, slowly pry them from the wall. Glass or tile splashbacks can shatter, so wear gloves and eye protection. Consider applying a self-adhesive protective film to reduce the risk of injury from flying shards.
Step 3: Dismantle Base Cabinets
Start by removing drawers, doors, and shelves. Set aside any parts you plan to reuse and label them clearly. Unscrew cabinets from the wall and from each other, then dismantle and remove. If you’re donating the kitchen, package screws and fittings to help the next user with reassembly.
Step 4: Remove Wall Cabinets
These should come off before the base units, as base cabinets can act as a makeshift support. Ideally, work with someone else to safely hold the units while unscrewing them from the wall. Once detached, bring them down slowly and either label for reuse or dispose of safely.
Step 5: Disconnect and Remove Appliances
Before touching any appliances, confirm power, water, and gas supplies are turned off and tested. Use your voltage tester to ensure there’s no electrical current. Appliances should be carefully removed and stored or disposed of properly.
Taking apart a kitchen takes patience, planning, and a keen focus on safety. Done right, it can be a cost-effective and empowering way to prepare your space for its next chapter.
Important Reminder: Always consult with licensed professionals for electrical, gas, and plumbing work. These jobs are not safe for unqualified hands and should never be attempted without the proper expertise.